

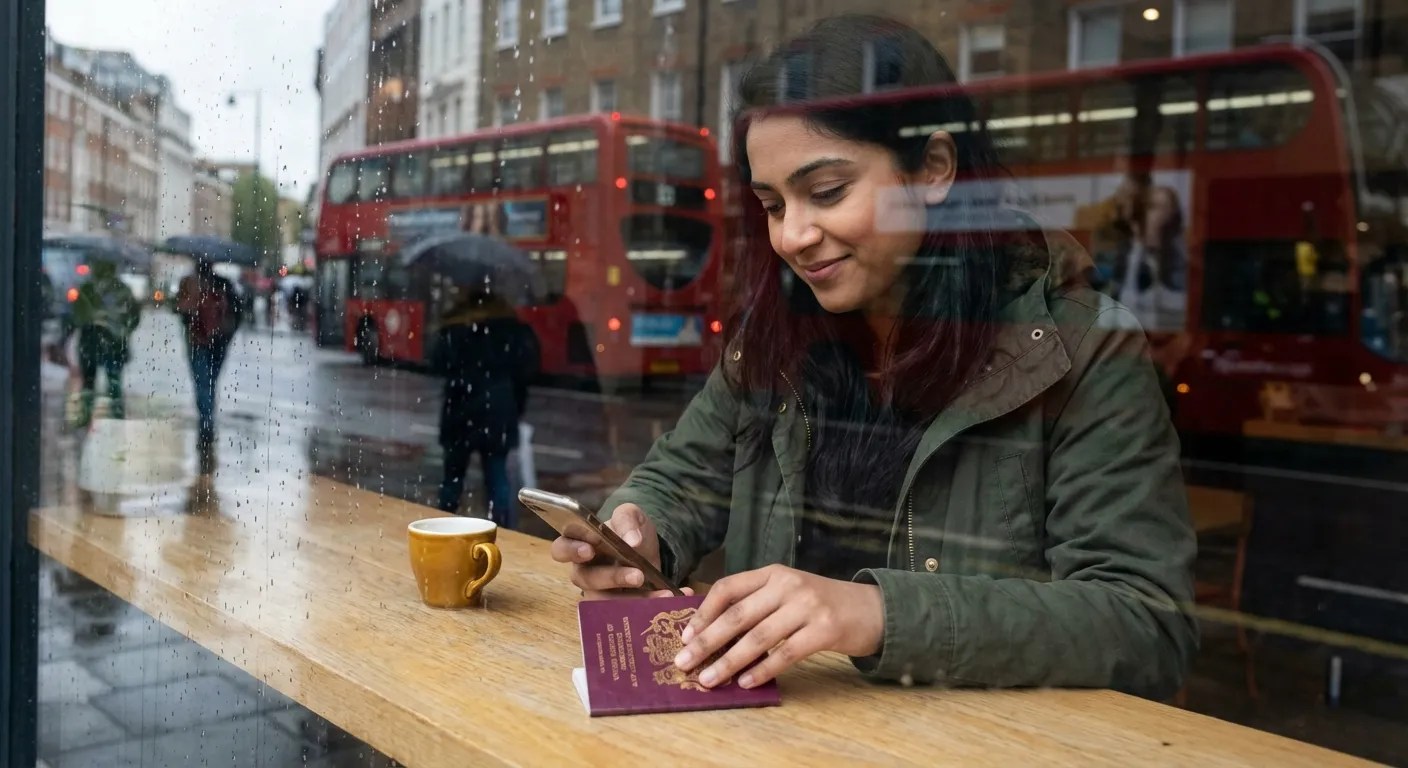
First week checklist in the UK: BRP, E-visa, NI number and NHS

Send from


Exchange Rate
– – –
GBP 1 = NGN 2030.28232
Transfer Fee
Free – – – 0.99 0.99 USD
Receiver gets


Powered by Moka United
Delivered in minutes
Your first 7 days in the UK set the foundation for everything that follows, from proving your immigration status to getting paid, registering with a GP and accessing the NHS.
This UK BRP, NI number and NHS guide walks you through the essentials step by step, so you can feel settled, compliant and confident from day one. Save it on your phone — you’ll refer back to it more than once.
Quick first-week checklist
- Confirm your UK digital visa (eVisa) status
Sign in to your Home Office account and save a screenshot or PDF of your status and share code. - Check whether you should receive a BRP card
If yes, confirm the Post Office branch or delivery address and the ID you’ll need to collect it. - Check or apply for your National Insurance (NI) number
Track down an existing NI number or start an application if you don’t have one yet. - Register with a GP
Choose a local surgery so you can access NHS care when you need it. - Organise basic tax documents
Keep contracts, payslips and tax letters together — it will make dealing with HMRC much easier later.
Table of contents
- How the UK digital visa system works (and what happened to BRPs)
- How to access and use your UK eVisa in your first week
- How to check or apply for a National Insurance number
- How to register with a GP and access the NHS
- UK tax basics for migrants: how your NI number is used
- Practical tips to feel settled in your first week
How the UK digital visa system works (and what to do if you expected a BRP)
The UK Home Office is moving away from physical BRP cards and towards a fully digital visa (eVisa) system.
That can feel confusing, especially when you’re also trying to sort your NI number, job paperwork and GP registration.
What’s changed
- Your immigration status now lives in an online “view and prove” account
- It’s linked to your passport, not a plastic card
- Employers, landlords and universities check your status using a share code
If you expected a BRP card
- Check your visa decision letter carefully
- Sign in to your UKVI account and confirm your status is visible
- If dates, visa type or permissions look wrong — contact the Home Office using the details in your decision email
Not everyone receives a BRP anymore. Many new migrants have digital-only status, and that’s completely normal.
For a fuller overview of BRPs and digital status, see our guide on what is BRP in UK.
How to access and use your UK eVisa in your first week
Your UK eVisa is the official digital record of:
- Your identity
- Your visa type
- How long you can stay
- What you’re allowed to do (work, rent, study)
In your first week, make sure you:
- Sign in to your UKVI account and link it to your passport
- Check your details carefully — name, dates and visa conditions
- Learn how to generate a share code for employers or landlords
This is now the main way you prove your right to live and work in the UK — so get comfortable using it early.
How to check or apply for your National Insurance number
You may already have an NI number if you:
- Worked or studied in the UK before
- Received a BRP in the past
- Were issued one automatically with your visa
You can often find it:
- On the back of an old BRP
- Inside your UKVI account
- On previous payslips or HMRC letters
If you need to apply
- Apply online only (there are no paper forms)
- Make sure your passport, eVisa details and UK address match exactly
- Upload clear, well-lit photos of your documents
You do not need an NI number to start work. Your employer can pay you as long as you can prove your right to work — you simply give them your NI number once it arrives.
- The official GOV.UK guidance explains who can get a National Insurance number, when you actually need one, and how it links to your biometric residence permit (BRP) or online immigration status. As set out in the GOV.UK article on applying for a National Insurance number, if you have a BRP or a UKVI eVisa account, you might already have an NI number. You can usually find it on the back of your BRP or by signing in to your UKVI eVisa account.
How to register with a GP and access the NHS
Your UK eVisa is a digital record of your identity and immigration status on the Home Office Registering with a GP is one of the fastest ways to feel properly settled.
Step 1: Find a GP surgery
Use the official NHS website to find a local GP near your home. Check:
- Whether they’re accepting new patients
- Opening hours and appointment options
Step 2: Prepare what you can
Most GP surgeries ask for:
- Your passport
- Proof of immigration status (your eVisa is fine)
- Proof of address (if you have it)
You can still register without full documents or a fixed address — ask the reception team what they can accept.
Step 3: Register and book care
Once registered, you can:
- Book GP appointments
- Access NHS prescriptions
- Get referrals if needed
Many practices now offer phone or online appointments — ideal while you’re still settling in.
UK tax basics for migrants: how your NI number is used

Your NI number connects your work, tax and pension records across the UK system.
What it’s used for
- HMRC uses it to track your Income Tax and National Insurance
- Employers use it for payroll
- It counts towards your State Pension and some benefits
First-job checks
- Check your payslip shows your NI number and tax code
- Share your NI number with every new employer
- If your tax code looks wrong, ask HMRC to review it
Catching mistakes early saves months of back-and-forth later.
Practical tips for your first week in Britain
Once the admin is underway, these small steps make everyday life much easier:
- Get a local SIM — essential for banking, transport apps and verification codes
- Set up contactless payments — buses, trains and shops all use tap-to-pay
- Download local transport apps (e.g. Transport for London)
- Open a UK-friendly bank account to get paid in pounds
- Save key numbers:
- 999 — emergencies
- 111 — non-emergency NHS advice
Popular articles


Invite friends to TransferGo, earn £20